Free Modern Scandinavian Quilt Pattern
This post may contain affiliate links, which means that I may earn a commission if you make a purchase using these links. As an Amazon Associate I earn from qualifying purchases.
Quilt Pattern Inspiration
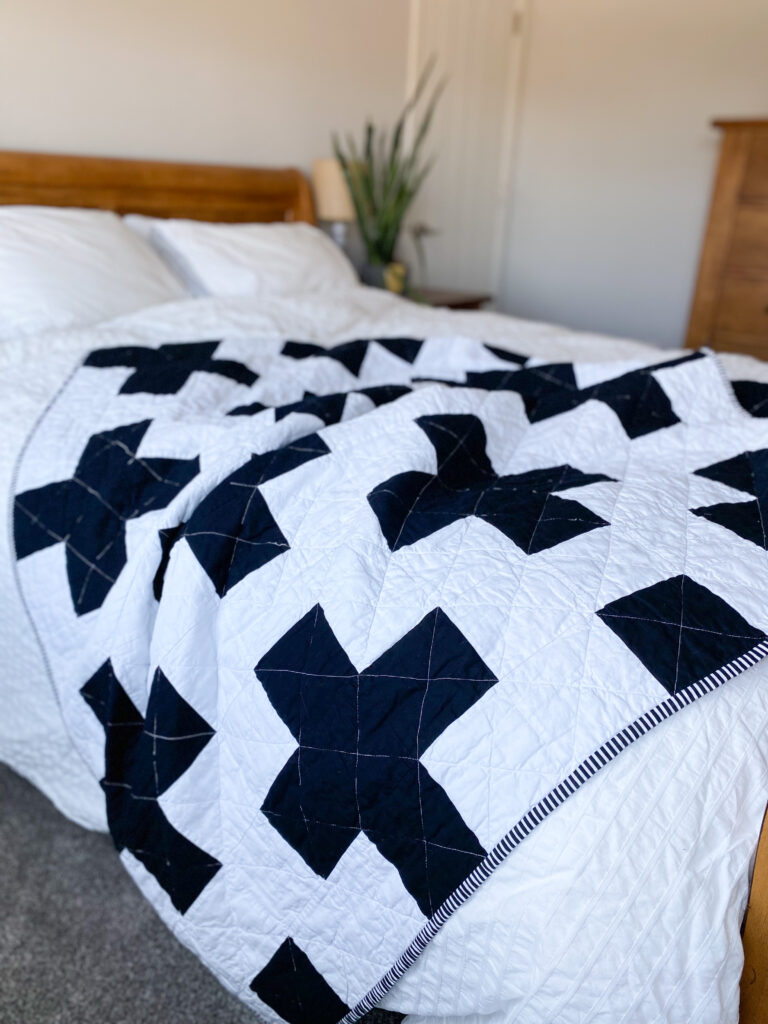
This free modern quilt pattern was inspired by the very first quilt I ever made. In December 2019, I picked up quilting on a whim. I don’t even remember what made me start… probably something I saw on Facebook or a Youtube video. Regardless, I went down a rabbit hole and watched no less than 1,000 quilting videos before deciding to make a throw sized, black and white, patchwork quilt. I didn’t following a pattern — I honestly didn’t even know quilt patterns existed. I used solid black and solid white fabric, cut into 180 – 5″ squares. Next, I stitched them together on my small, domestic sewing machine my parents bought me sometime in elementary school and pressed the seams with absolutely no rhyme or reason. Finally, I quilted it using a walking foot attached to the same sewing machine used to piece it. Last, but not least, I bound it by hand with a whip stitch over several nights of TV-watching and finished it with a hand-embroidered tag in the corner “First Quilt, Megan Fowler, January 2020”. Today, it is still used and loved and one of my most cherished quilts.

Fast forward to 2022.
I now have many more quilts under my belt and my sewing and quilting skills have significantly improved. And now that I am writing quilt patterns of my own, I look back at that first quilt wondering how I would do it differently today…
Free Modern Quilt Pattern
Enter: Apres-Ski, the new and improved version of “Megan’s First Quilt 2019”. It uses more efficient fabric cutting, and more methodical piecing and pressing, but it’s the perfect quilt pattern for any beginner, especially for a first quilt. It’s the quilt pattern I wish I had. Even more, it does not require any points to meet, so it is incredibly forgiving.
Modern Quilt Design and Scandinavian Color Palette
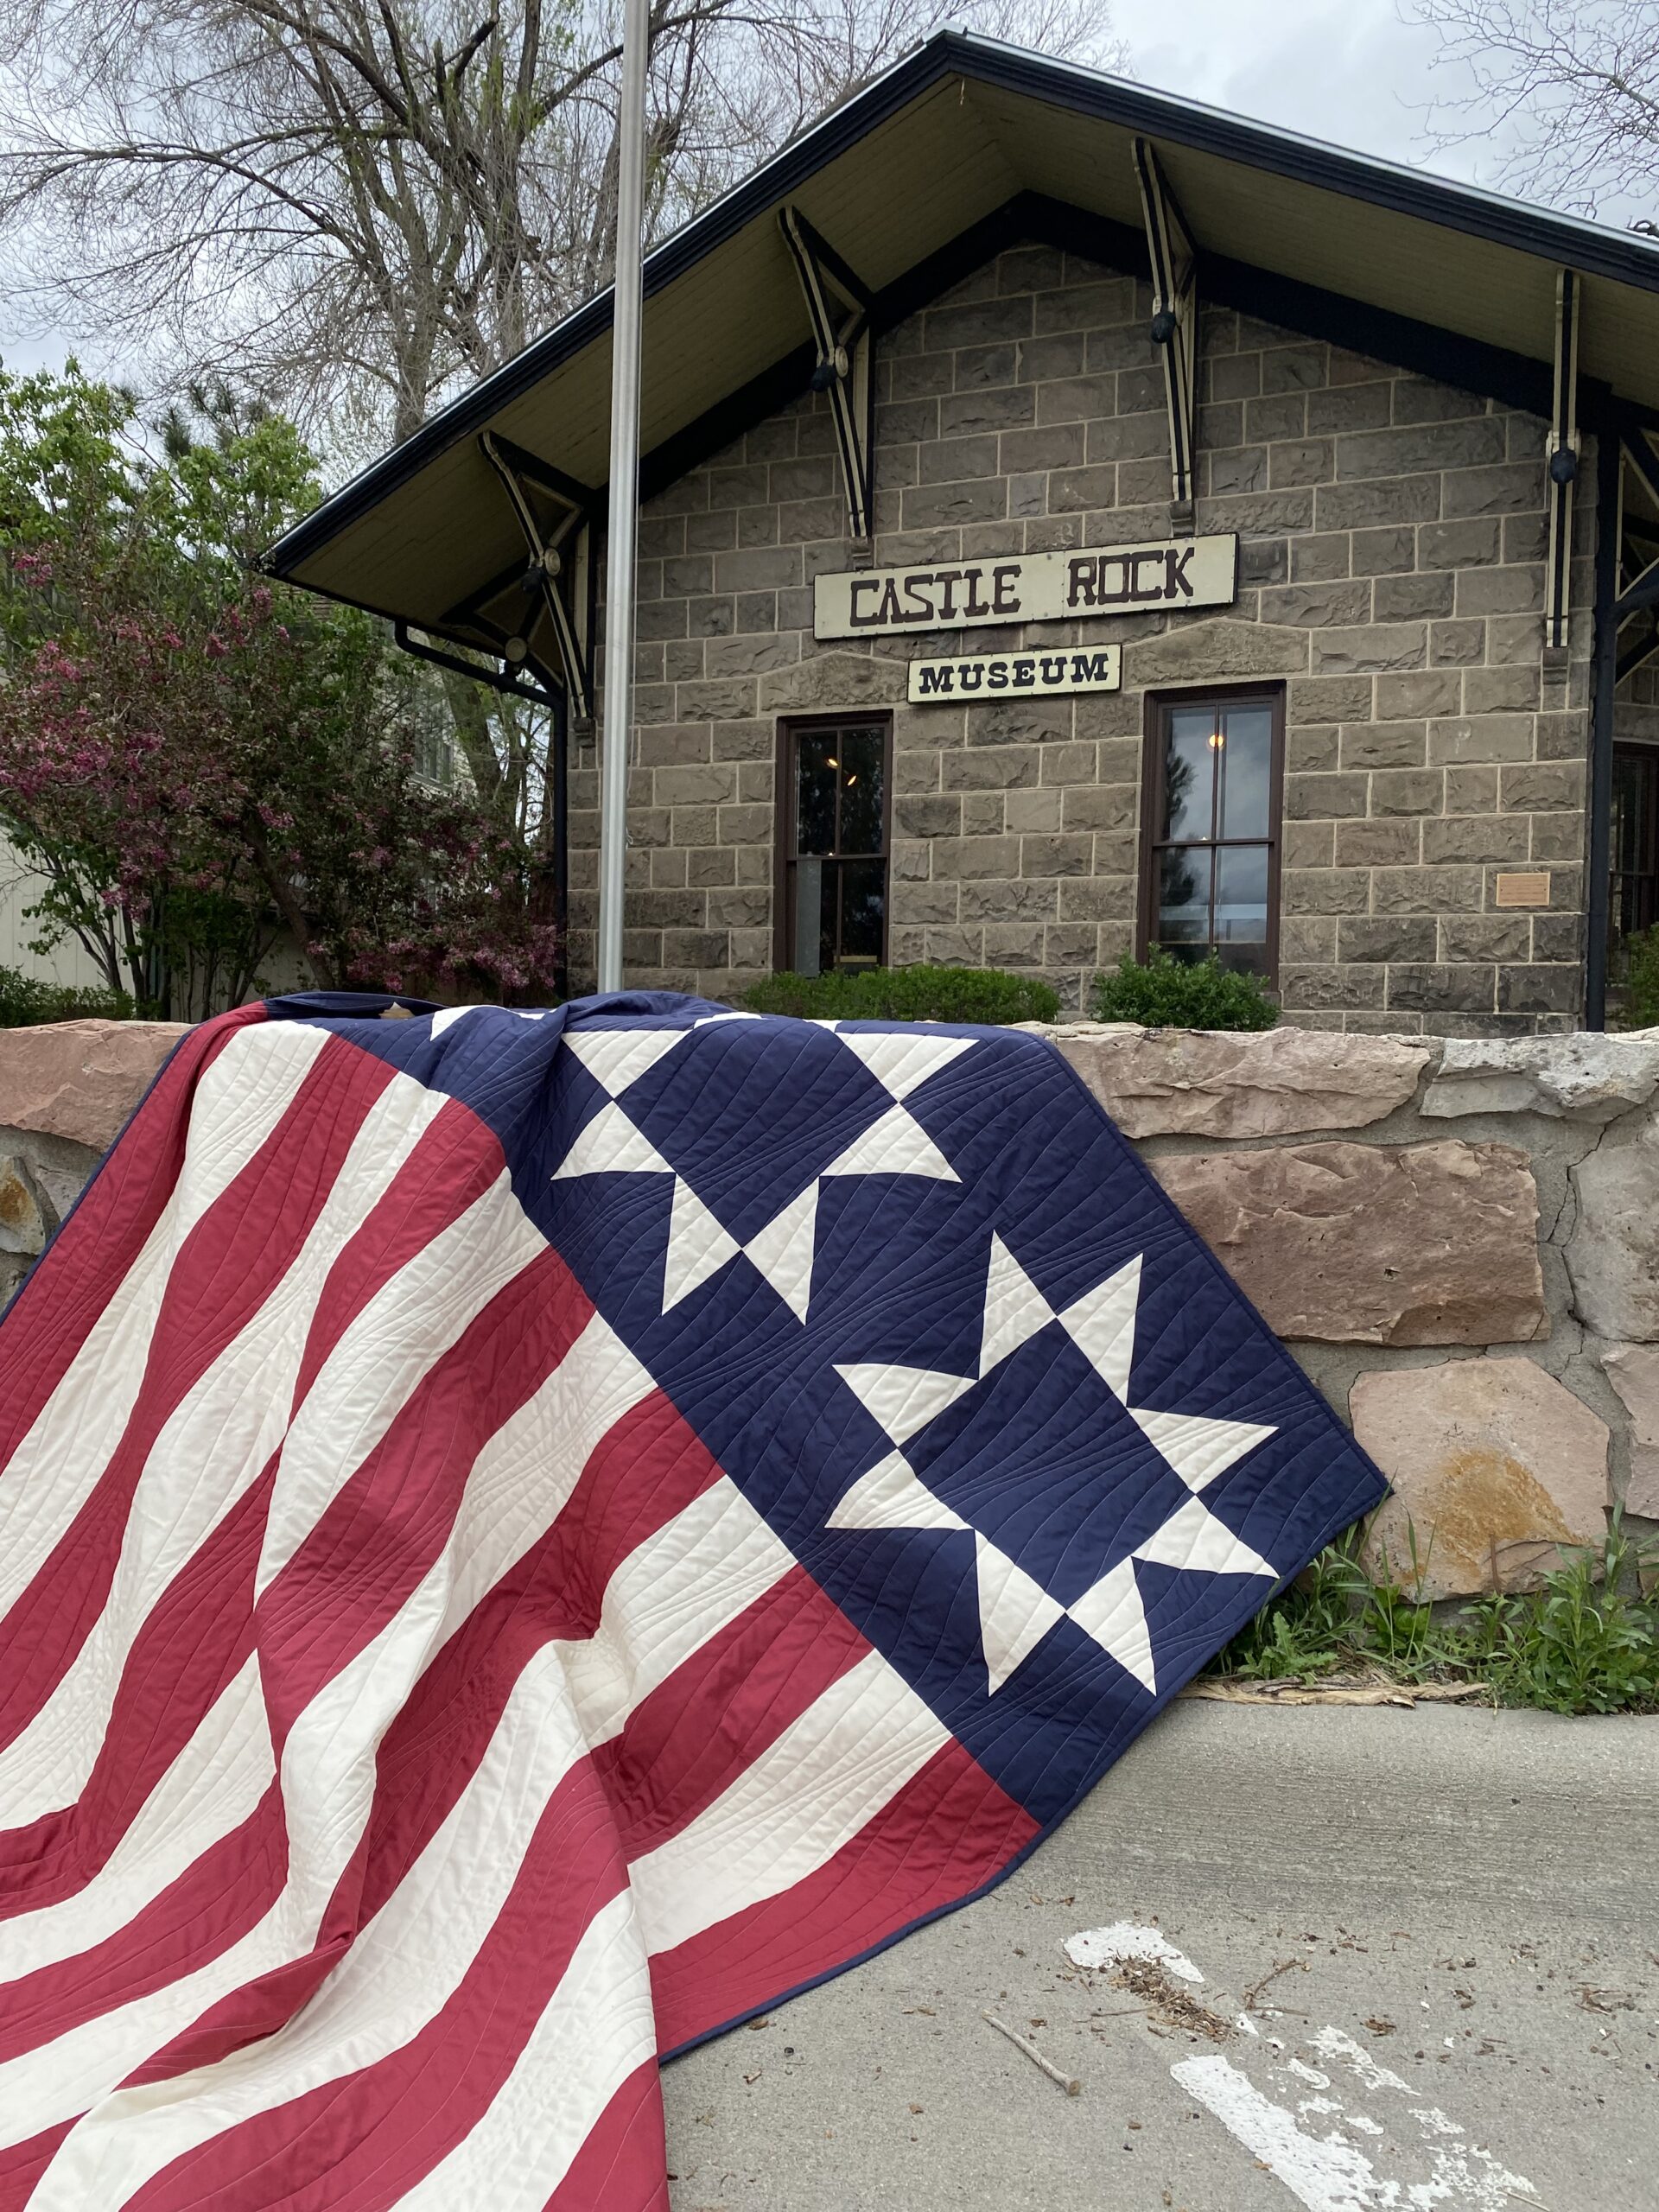
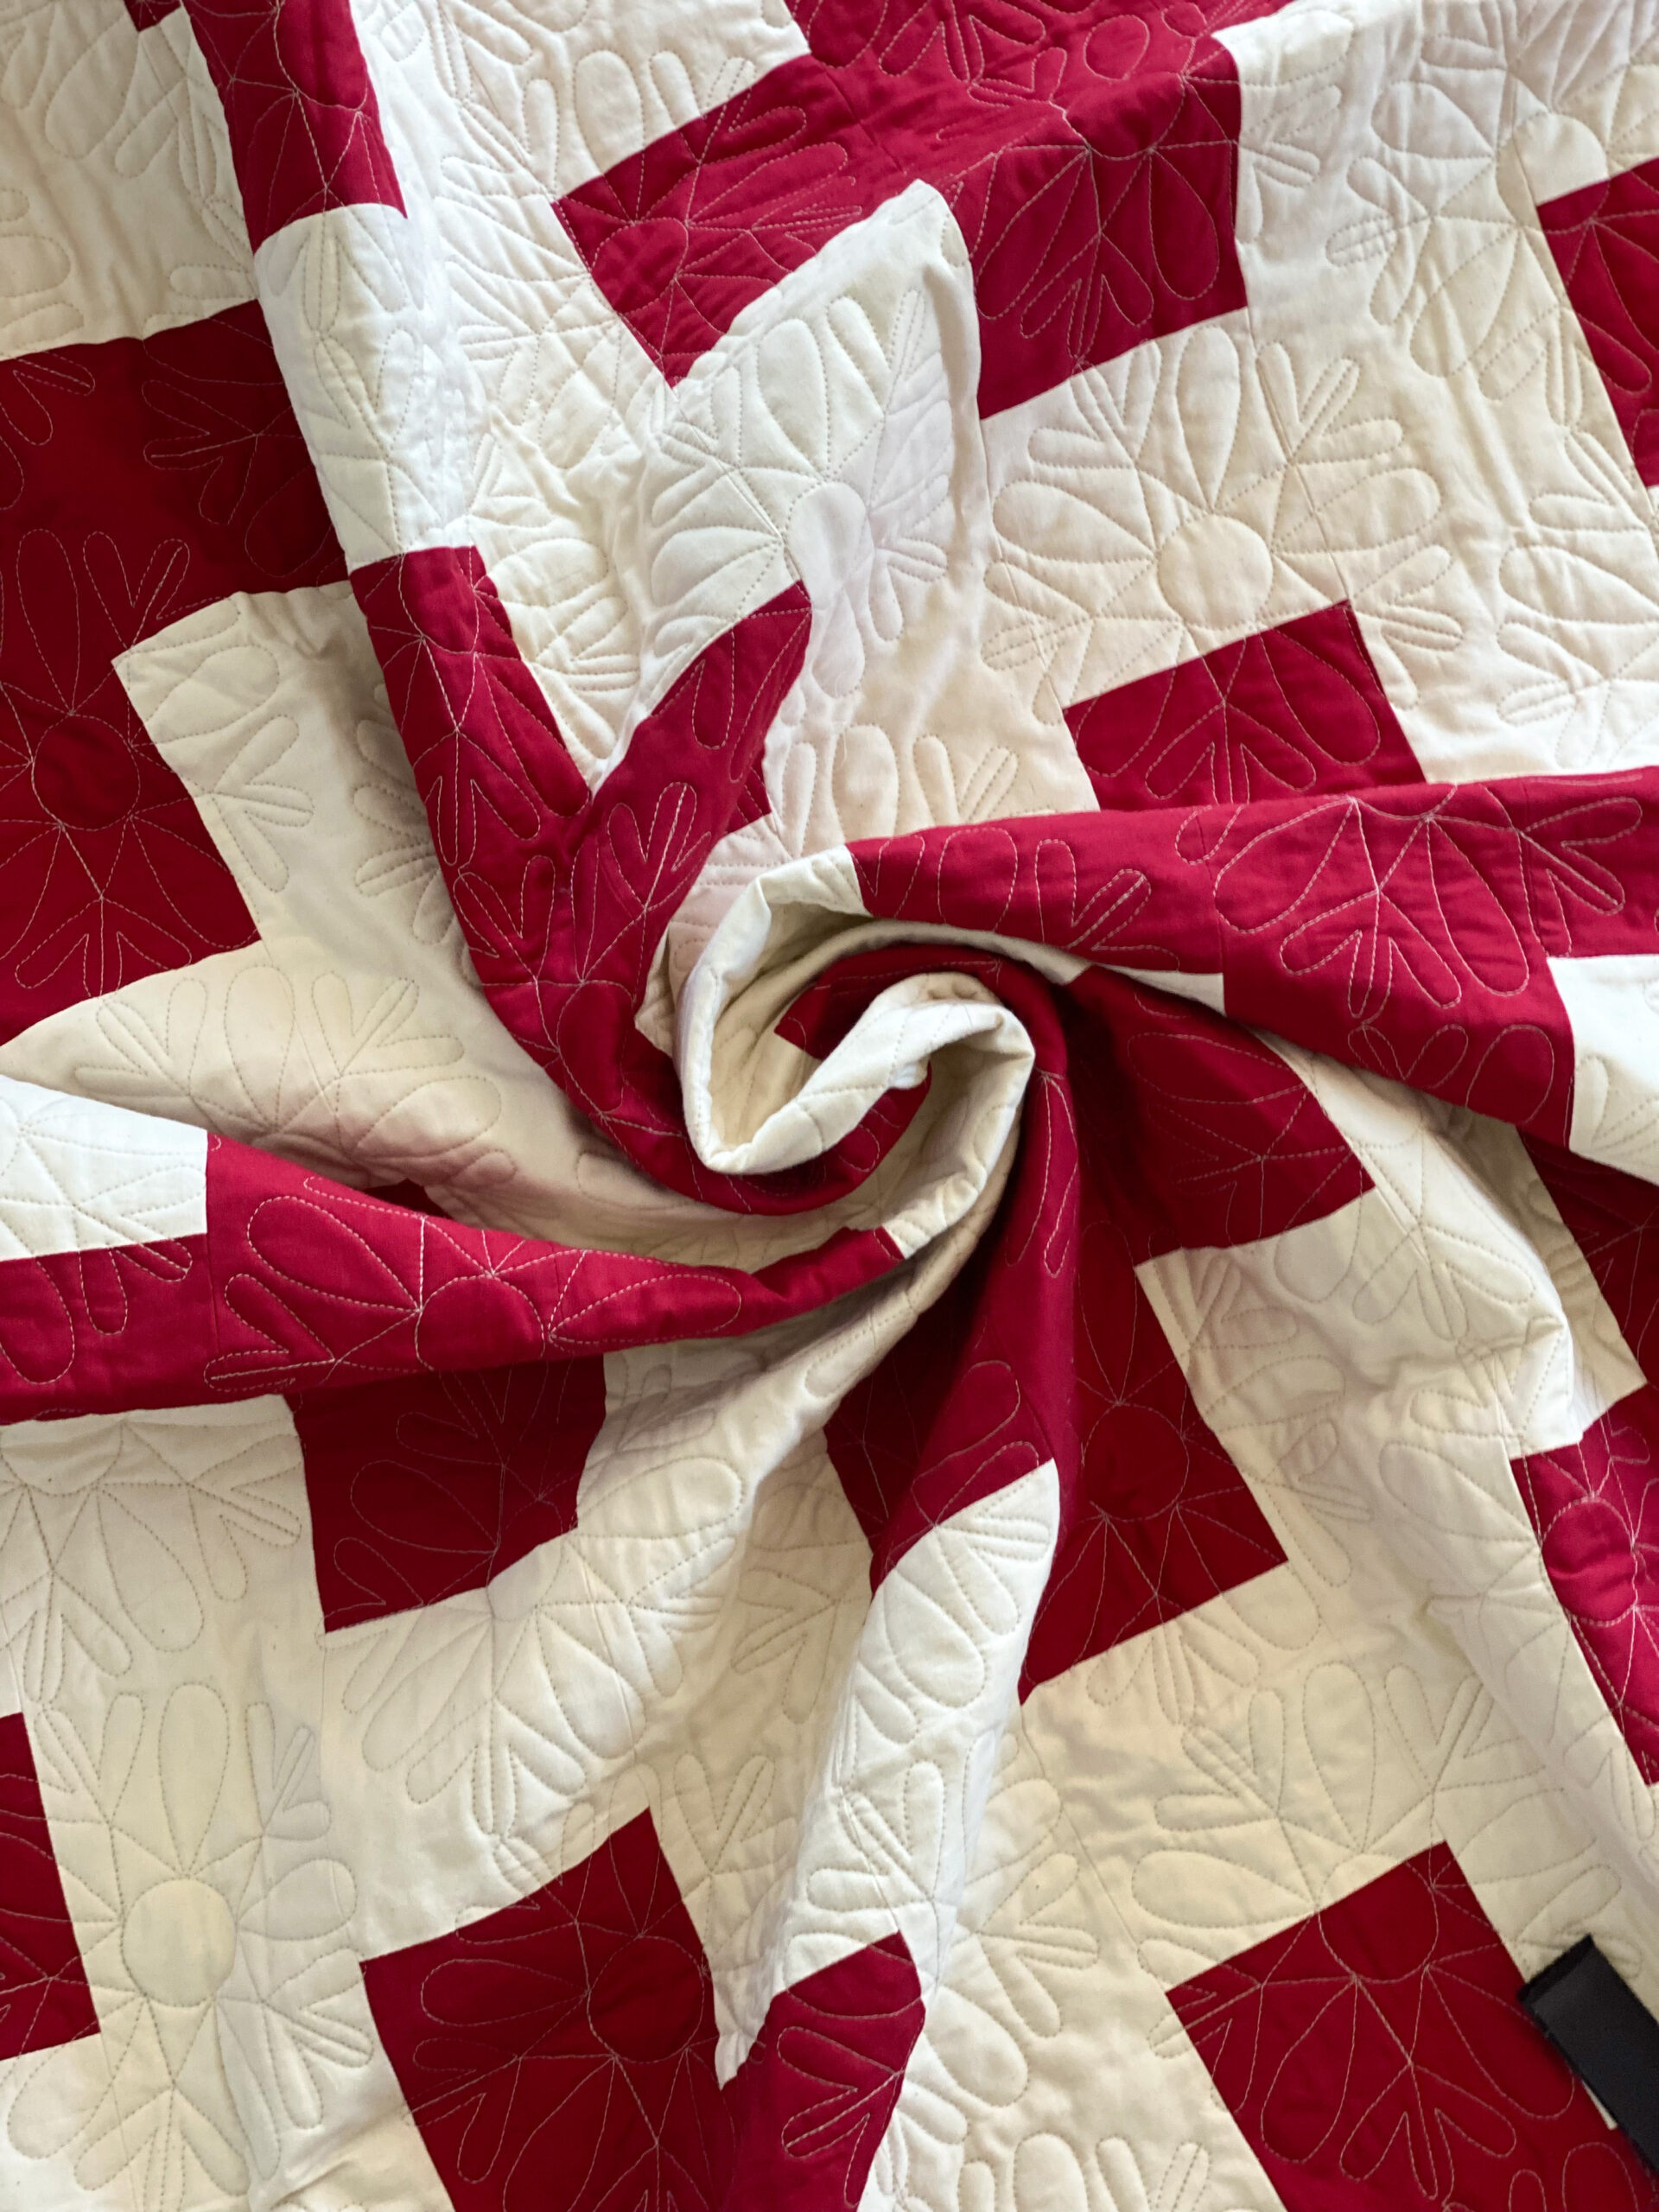
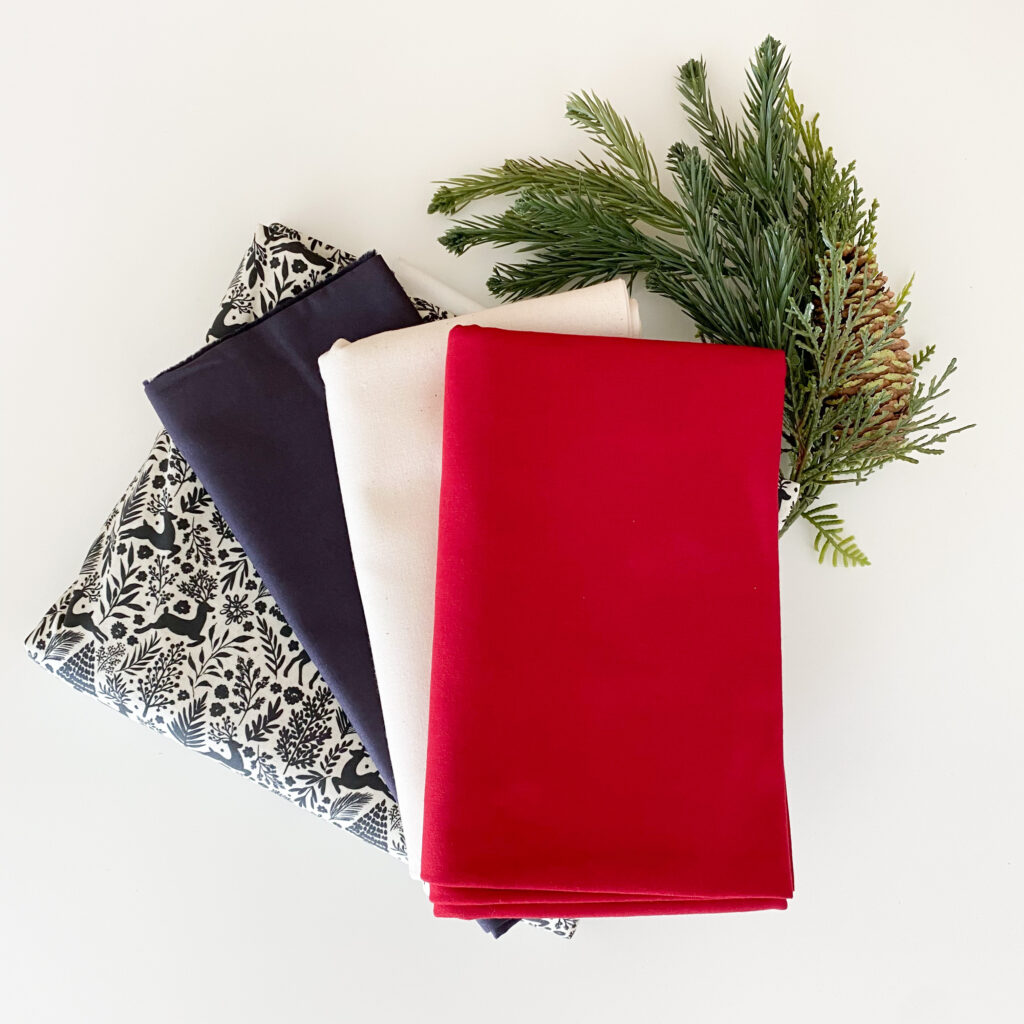
Apres-Ski uses a simple Swiss Cross repeating in rows and staggered for a clean and modern design. For the cover quilt, I chose Kona Cotton Solids in Ruby and Natural; and for the binding, I chose the color Charcoal, to coordinate with the backing. I thought the deep red and ivory fabric would give it a vintage ski chalet vibe that will be perfect for Christmas or winter decor. The quilt backing is is a print called “Scandi Forest” in Sweet Cream, from Beth Schneider’s fabric collection “Dashing”.
Longarm Quilting
Chain Piecing Tutorial
What is Chain Piecing?
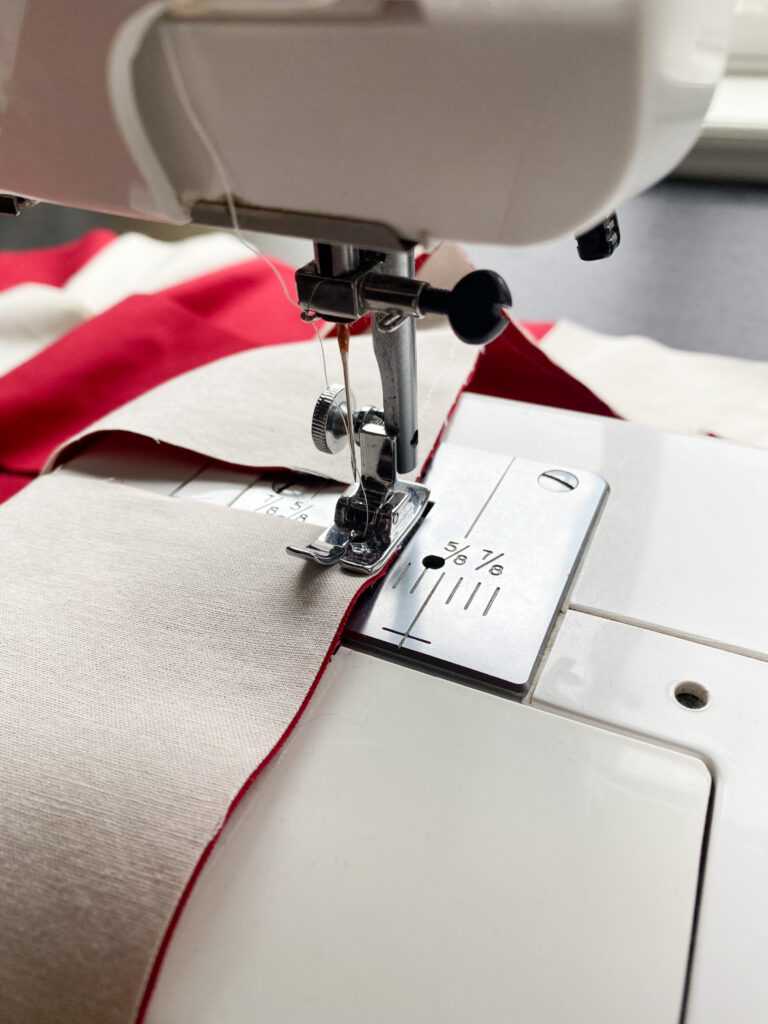
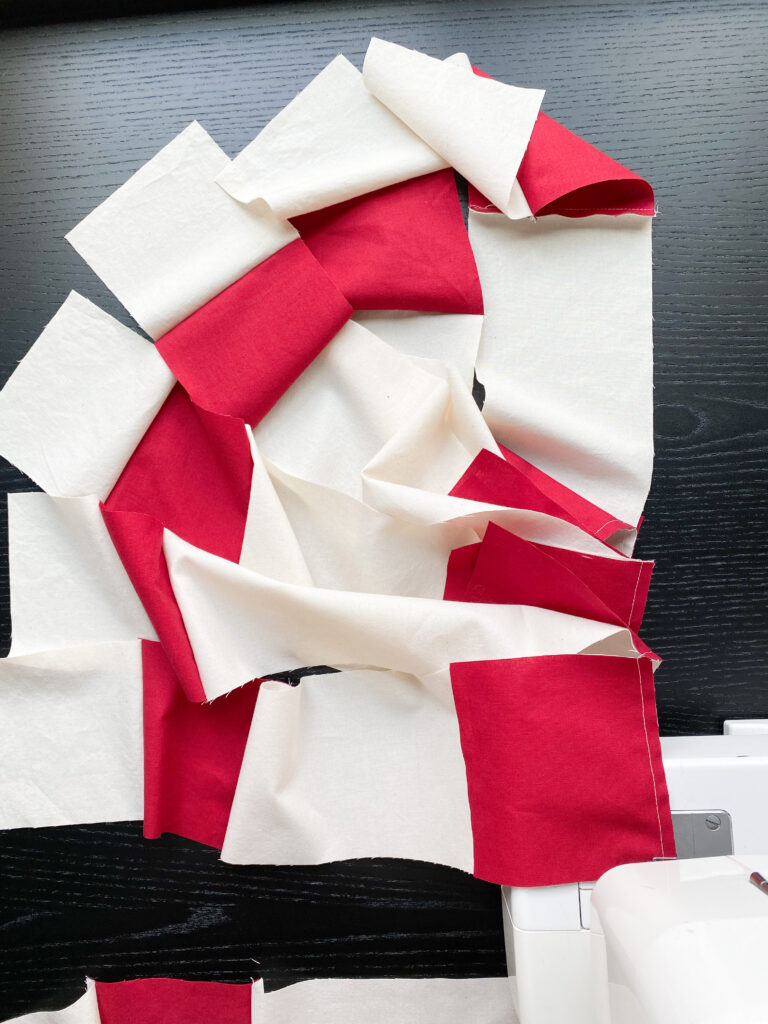
When piecing this quilt, I found that chain piecing the columns made sewing this quilt top incredibly quick and efficient. Chain piecing is essentially the assembly line version of quilting — you sew the same piece of a block or a row over and over without cutting thread between, forming a long “chain”. The main benefits of chain piecing is that it uses less thread and less time.
This quilt is made using the same 4 columns repeated, and all 4 column variations are symmetrical, so you can actually chain piece the two halves of each column and then sew those two halves together to make a complete column.
Make sense?
I know. I confused myself too. That’s ok. Let me show you with a few diagrams.
Column A Chain Piecing Instructions

- The above diagram is for “Column A” in the pattern. Before we begin sewing, let’s first get the math straight. This quilt requires 6 copies of Column A, but because the rows we are building are symmetrical , we can build the left and right sides simultaneously. Therefore, the number of pieces we are sewing should be DOUBLE the total number of columns required. To begin chain piecing Column A, we will begin with 1 square of Fabric B and 1 square of Fabric A. Sew these together. Repeat 11 more times, for a total of 12 sets sewn together in one chain. Cut the chained pieces apart.
- Next, sew 1 strip of Fabric B to the previously pieced sets. Again, repeat 11 more times, for a total of 12 sets. Cut the chained pieces apart.
- Next, sew 1 square of Fabric A to the end of each set. Cut the chained pieces apart. You have now finished the left and right halves of your A Columns.
- Next, you need to connect the halves using a center piece of fabric, which for this column is a strip of Fabric B. You will do this by chain piecing 1 strip of Fabric B to ONLY 6 of the previously pieced sets.
- Lastly, attach the other 6 sets that you created in steps 1-3 by flipping them to mirror the other half and sew together to complete 6 symmetrical rows/columns.
Chain Piecing Instructions for Column B
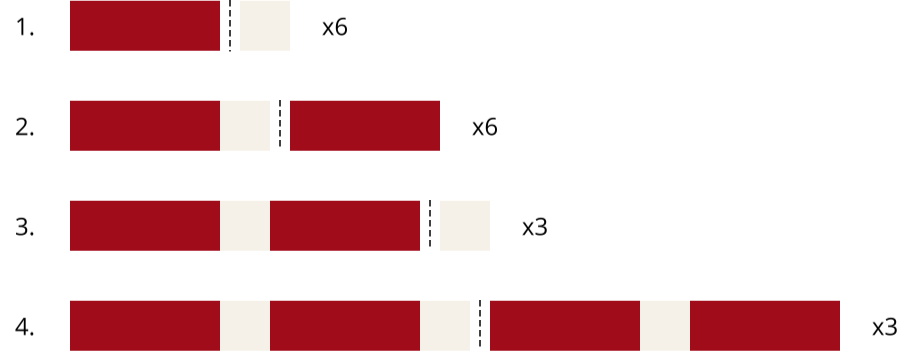
- The above diagram is for “Column B” in the pattern. This pattern requires 3 copies of Column B. To begin chain piecing Column B, we will begin with 1 strip of Fabric A and 1 square of Fabric B. Sew these together. Repeat 5 more times, for a total of 6 sets sewn together in one chain. Cut the chained pieces apart.
- Next, sew 1 strip of Fabric A to the previously pieced sets. Again, repeat 5 more times, for a total of 6 sets. Cut the chained pieces apart. You have finished the left and right halves of your B Columns.
- Next, you need to connect the halves using a center piece of fabric, which for this column is a square of Fabric B. You will do this by chain piecing 1 Fabric B square to only 3 of the previously pieced sets.
- Lastly, attach the other 3 sets that you created in steps 1 and 2 by flipping them to mirror the other half and sew together to complete 3 symmetrical rows/columns.
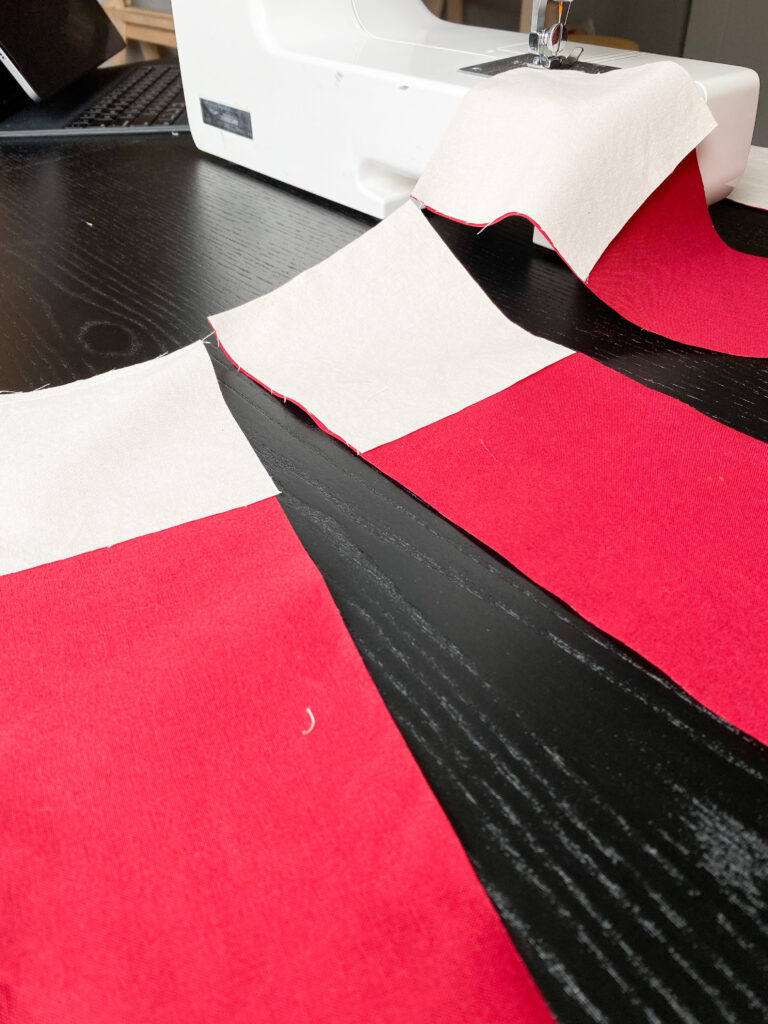
Column C Chain Piecing Instructions
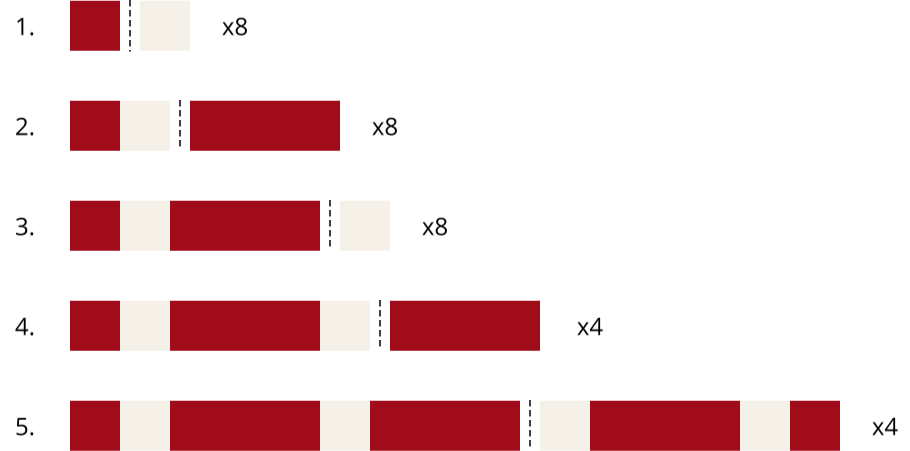
- The above diagram is for “Column C” in the pattern. This pattern requires 4 copies of Column C. To begin chain piecing Column C, we will begin with 1 square of Fabric A and 1 square of Fabric B. Sew these together. Repeat 7 more times, for a total of 8 sets sewn together in one chain. Cut the chained pieces apart.
- Next, sew 1 strip of Fabric A to the previously pieced sets. Again, repeat 7 more times, for a total of 8 sets. Cut the chained pieces apart.
- Next, sew 1 square of Fabric B to the end of each set. Cut the chained pieces apart. You have finished the left and right halves of your C Columns.
- Next, you need to connect the halves using a center piece of fabric, which for this column is a strip of Fabric A. You will do this by chain piecing 1 Fabric A strip to only 4 of the previously pieced sets.
- Lastly, attach the other 4 sets that you created in steps 1-3 by flipping them to mirror the other half and sew together to complete 4 symmetrical rows/columns.
How to Chain Piece Column D

- The above diagram is for “Column D” in the pattern. This pattern requires 2 copies of Column D. To begin chain piecing Column D, we will begin with 1 strip of Fabric B and 1 square of Fabric A. Sew these together. Repeat 3 more times, for a total of 4 sets sewn together in one chain. Cut the chained pieces apart.
- Next, sew 1 strip of Fabric B to the previously pieced sets. Again, repeat 3 more times, for a total of 4 sets. Cut the chained pieces apart. You have finished the left and right halves of your D Columns.
- Next, you need to connect the halves using a center piece of fabric, which for this column is a square of Fabric A. You will do this by chain piecing the Fabric A squares to only 2 of the previously pieced sets.
- Lastly, attach the other 2 sets that you created in steps 1 and 2 by flipping them to mirror the other half and sew together to complete 2 symmetrical rows/columns.

Quilting
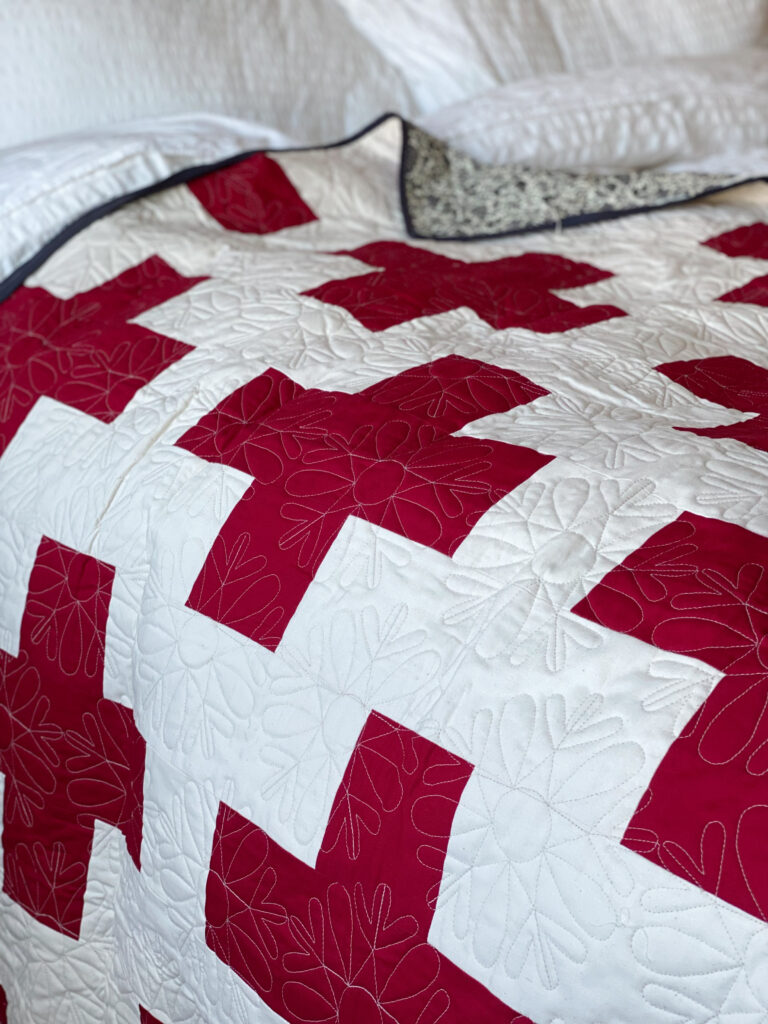
Lilo of Trace Creek Quilting quilted this beauty! I picked the pantograph “Scandi Snowflake”. I love how that it adds another layer of wintery Scandinavian vibes. This pantograph would be great with any winter or Christmas quilt. It’s so sweet and modern.

Binding the Quilt
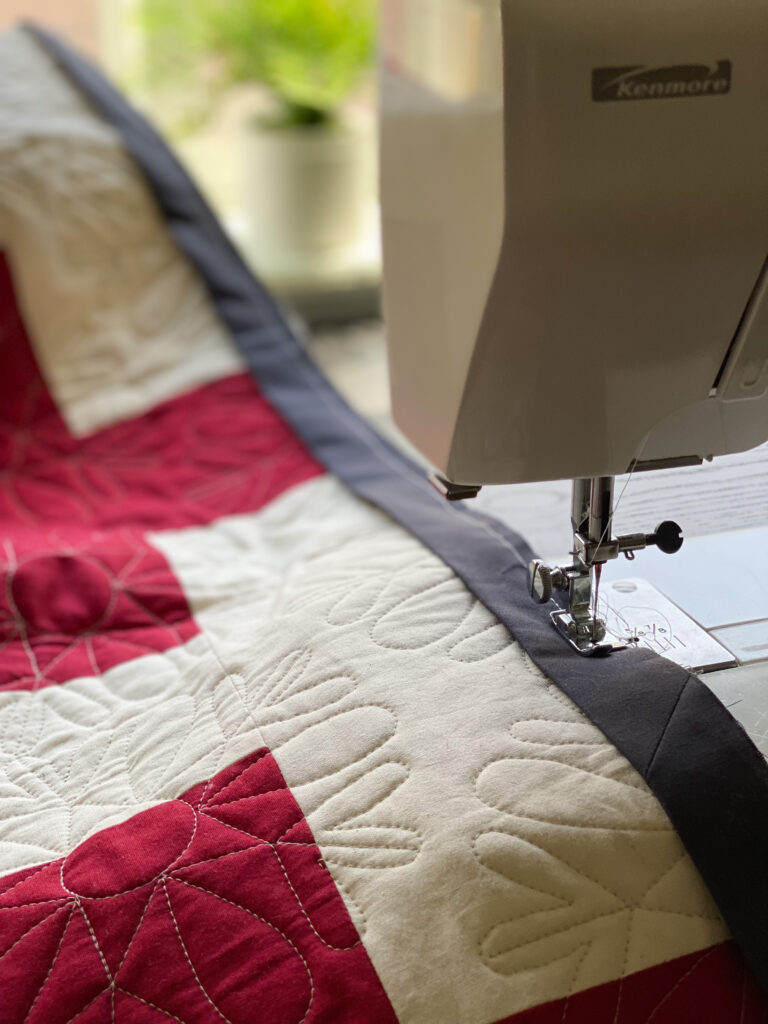
I typically attach the binding to the front of the quilt using my machine and then I hand stitch the binding to the back using embroidery floss and a big stitch; and it was no different for this quilt. For the binding, I chose the color Charcoal, to coordinate with the backing and then finished the big stitch binding with DMC Perle Cotton Thread in size 8 and the color Ecru.
