How to Make a Quilted Tote Bag (Free Sewing Tutorial)
In this post, I am going to show you how to make this cute quilted tote bag. This quilted tote bag tutorial is a quick and easy sewing project. I made this quilted tote bag for my toddler who has turned into quite the bookworm and it has quickly become his favorite tote bag. Ever since the weather has gotten cooler, we have been spending a lot more time at the library. He loves to carry his books back to the car. This is an excellent fat quarter project and a great way to use up fabric scraps and smaller cuts of quilt batting, not to mention these make beautiful Christmas gifts. I would rate the skill level of this sewing project as “confident beginner”.

Quilted Tote Bag Video Tutorial
This post may contain affiliate links, which means that I may earn a commission if you make a purchase using these links. As an Amazon Associate, I earn from qualifying purchases.
Quilted Tote Bag Dimensions
I am making this tote for a 3-year-old, so I wanted the tote to be on the smaller side. Therefore, I want my quilted panels to measure approximately 14″ x 14″. You can make many different sizes of tote, just adjust the dimensions so that the quilted panels and the lining pieces are all the same size. A standard tote bag measures about 15″ tall x 13″ wide, with a 14″ handle height. You will lose about 1.5″ in width and 2.5″ in height during assembly. Part of this is due to the boxed corners that we will be creating. That means, for a standard sized tote bag, the ideal size for the two quilted panels is 17.5″ tall x 14.5″ wide.
Supplies Needed
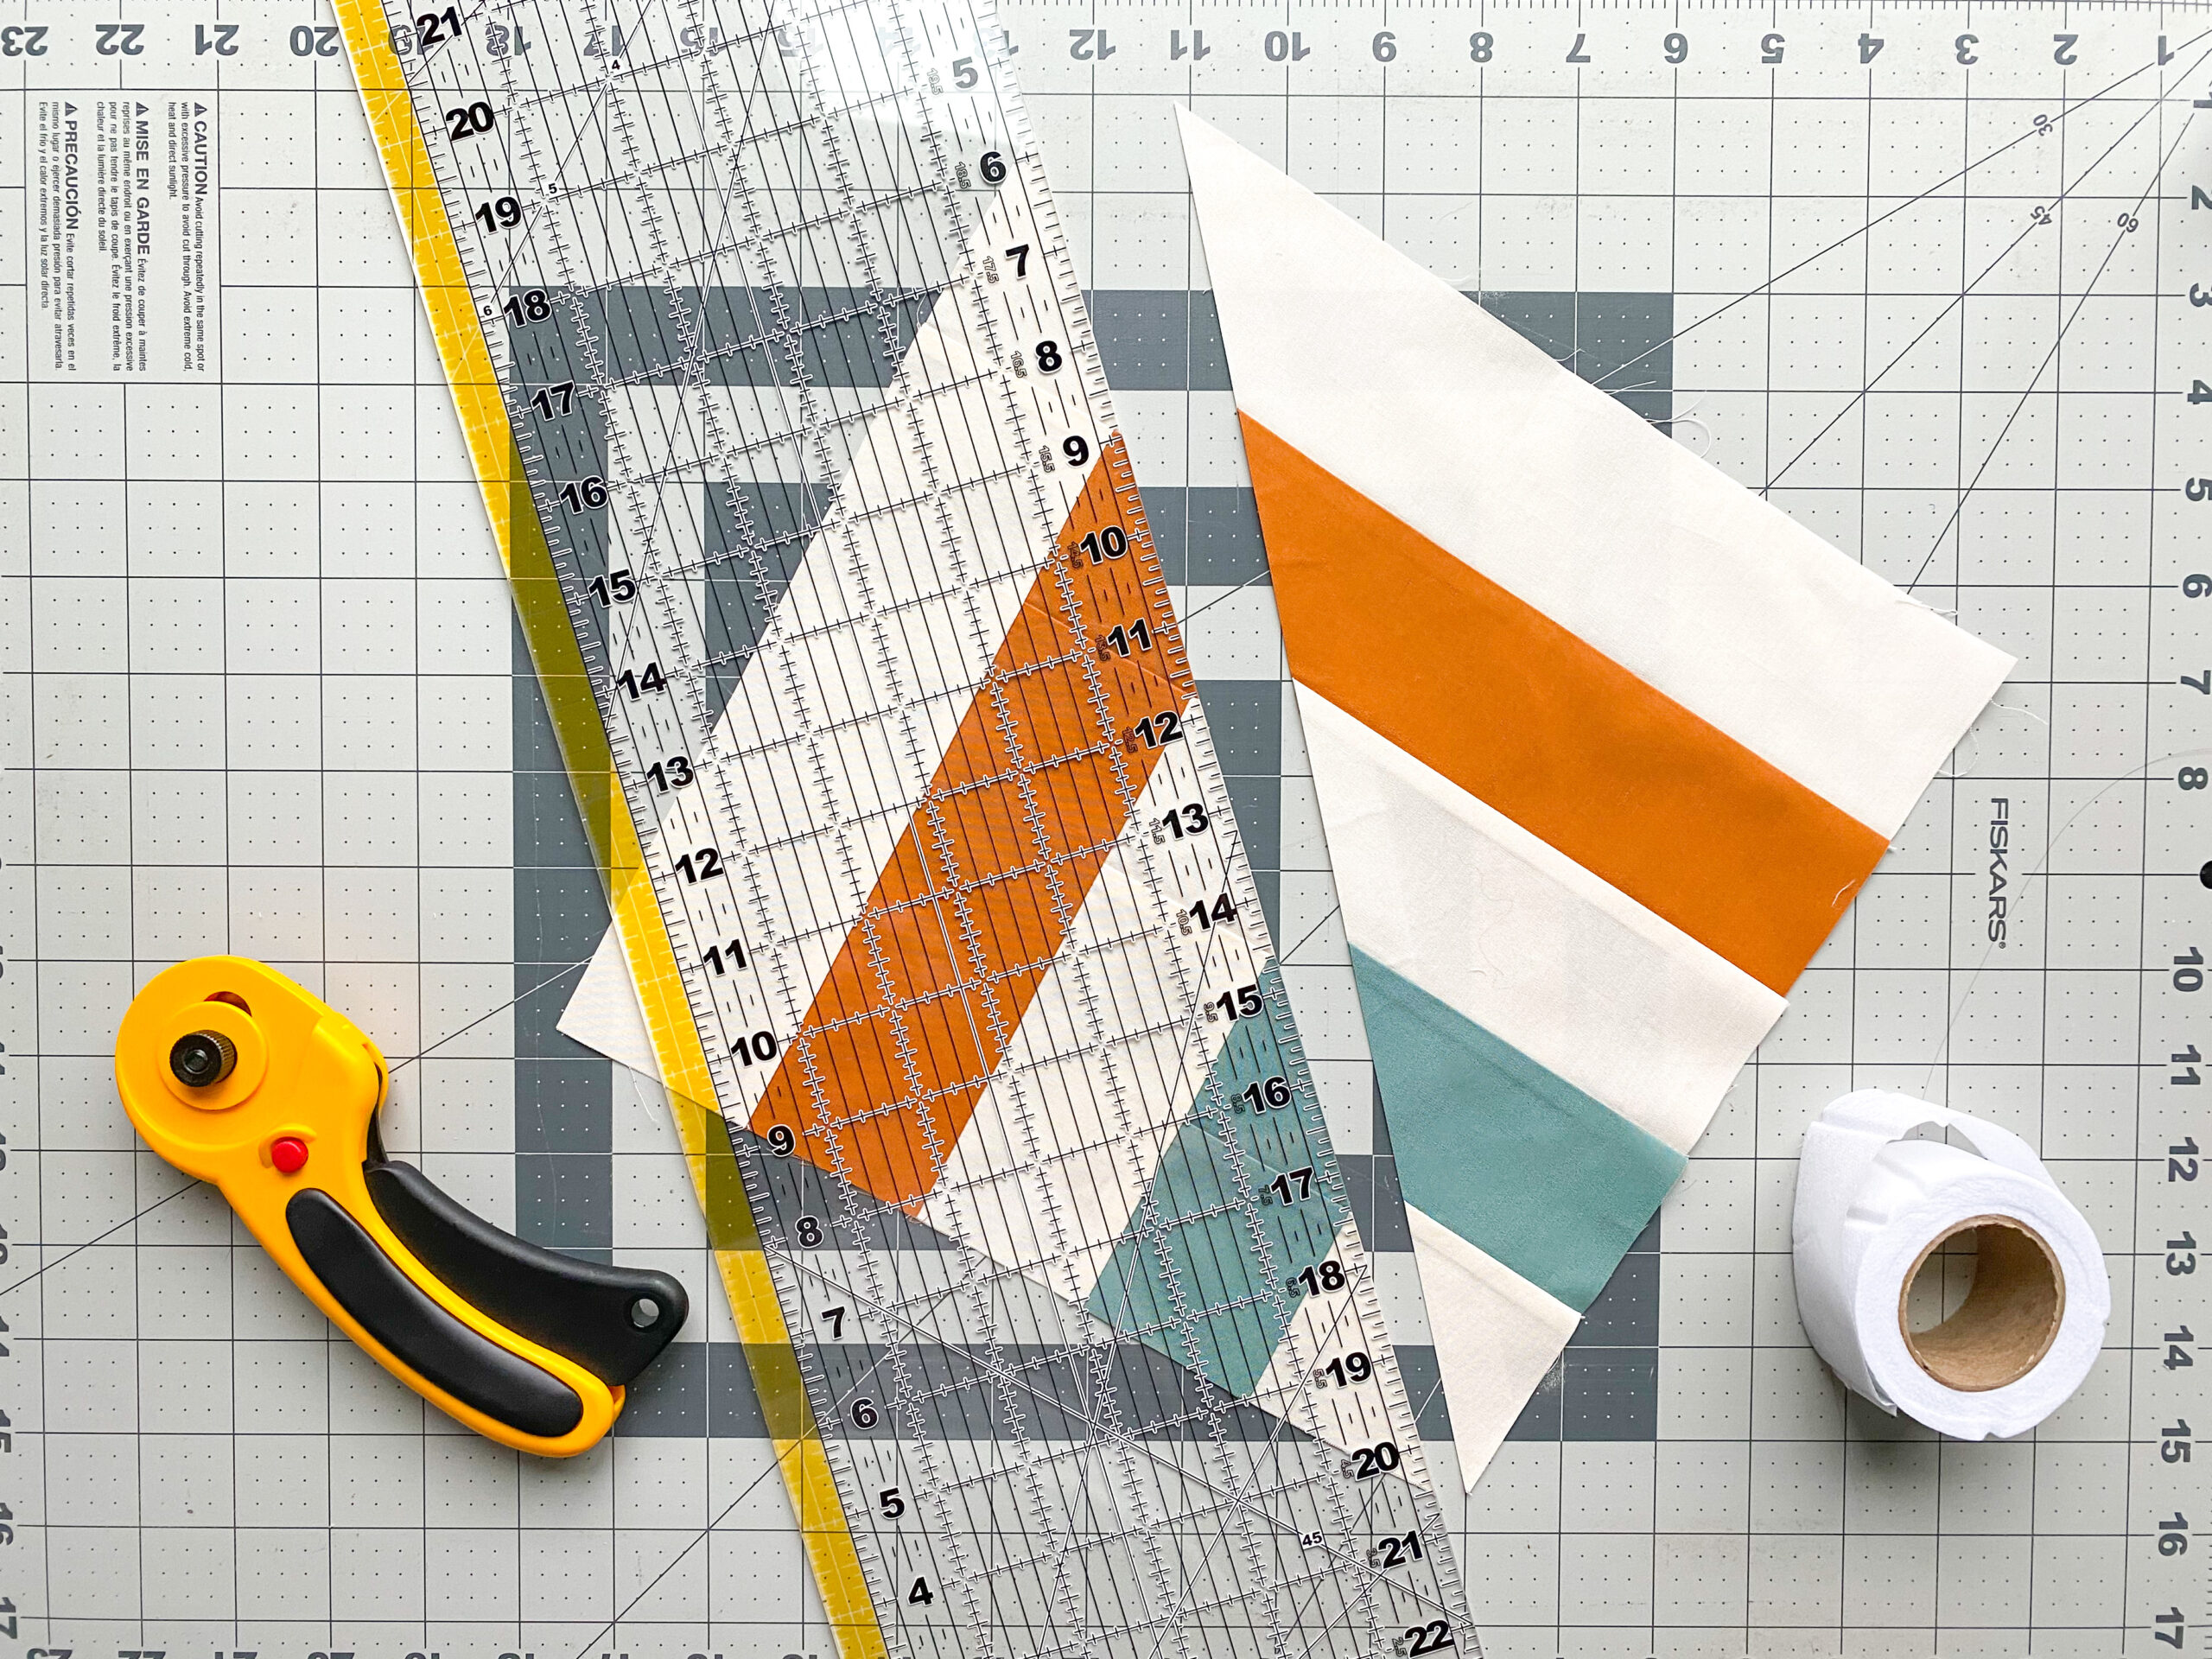
- 2 Quilt Blocks Sized Approximately 18″ x 15″
- Lining Fabric (2 Fat Quarters)
- 1/4 Yard Coordinating Fabric for Handle
- Quilt Batting or Fusible Fleece
- Basting Spray
- General Sewing Supplies
How to Make a Quilted Tote Bag
1. Make Two Quilted Blocks
Since this tote bag will be used for library trips, I started with two quilt blocks from the “Book Nook” quilt pattern by Pen + Paper Patterns. I started by measuring each quilt block so I knew how much more background fabric to add to get the correct size. Then I added strips of fabric to the top, bottom, and sides to get the desired 14″ x 14″.

2. Quilt the Blocks
Once you have added enough border fabric to make your two quilt blocks the correct size, they need to be basted and quilted. Create mini quilt sandwiches with some scrap batting and backing fabric. I would suggest using a backing fabric that you have outgrown and will not use otherwise because the fabric will be hidden inside the bag. You won’t see the back pieces when this tote is finished because we will be adding a lining.
Pro Tip: Use up smaller batting scraps by zig-zag stitching them together or fusing them with some fusible interfacing.
Baste your quilt sandwiches however you prefer. I like to use a basting spray because I find it to be quick and easy to get the layers nice and smooth, especially for these smaller projects. Alternatively, you can use a fusible fleece, like this one from Heat n Bond, in place of quilt batting.


Once the blocks are basted, go ahead and quilt them. For a new quilter, this is a great opportunity to practice some free-motion quilting or try out a new quilting design. For these smaller projects, I like to do diagonal line quilting. I use a hera marker to mark the first diagonal line and then use my walking foot with a seam guide to repeat the lines every 1.5″. Then just repeat the process with a second set of lines perpendicular to the first.


After you have your quilt block panels quilted, they need to be trimmed and squared. Make sure the quilted panels are the same size.
Bonus: This point would be a great opportunity to add some interior exterior pockets by sewing fabric squares to the lining squares or quilted panels.
3. Sew the Quilted Panels Together
Next, sew the quilted panels together by placing them right sides together and sewing along both sides and bottom.

4. Make the Straps
Next, we need to make the straps for the bag. You will need either 1 fabric or 2 different fabrics depending on if you want your straps to be 1 color or 2. I am using 2 different fabrics, with the stripes on the outside and the solid green on the inside. Cut 4 strips of fabric 29″ long x 1.75″ wide.


Place the 2 pieces of fabric, right sides together, and sew along the long edge.

Then, fold the fabric pieces together, wrong sides together, along the new seam and press. Then, fold the 2 remaining raw edges of fabric over about 1/4″ and press.

Fold the strap closed again and sew a top stitch along both seams, approximately 1/8″ from the edge.


5. Make the Lining
Next, cut the lining fabric. You will need to cut 2 rectangles the same size as your quilted panels. Again, mine measure 14″ x 14″, Place the lining panels right sides together and, using a 1/4″ seam allowance, sew along both sides and bottom, making sure to leave the top unsewn. Most importantly leave a 5-6″ gap in the bottom seam making sure to backstitch at the edges. This is needed to turn the tote bag right side out when we have finished assembling.


Press the seams open, including the section that was left open. Pressing this section of the lining will make it easier to sew closed during a later step.
6. Assemble the Bag
To assemble the bag, the lining and handles need to be attached to the outer quilted panels. To do this, turn the lining panels right side out and place the lining inside of the quilted panels that are still inside out. Next, place the straps between the lining and the quilted panel.

Line up the raw edge of the quilted panels, straps, and lining fabric and pin into place. If your straps have a front and back, make sure the front of the strap is placed right sides together with the front of the quilted panel. The back of the strap should be facing the wrong side of the lining.

Also, make sure that the straps are centered by measuring from the sides of each panel, making sure the straps are centered and symmetrical with the opposite side. Lastly, check that the side seams of the lining and the side seams of the quilted panels are lined up.

7. Sew the Layers Together
Once everything is lined up correctly and pinned into place, sew along the top edge of the tote. Complete the entire top, making sure to backstitch at the beginning and end. If you have an extension table for your sewing machine, I would suggest removing this so that you can slide the tote bag over the arm and rotate the bag while sewing around the top edge.


8. Make Boxed Corners
If you would like to create boxed corners, open the bottom corner and flatten it so that the side seam and bottom seam are lined up.

Then, mark a line, 3″ wide, perpendicular to the seam.

Pin the corner flat and then sew directly on the marked line, back stitching at the beginning and the end.

Next, remove the corner by cutting 1/4″ from the seam. Repeat this with the remaining 3 corners of the bottom of the bag; the 2 bottom corners of the quilted section and the 2 bottom corners of the lining.

9. Turn the Bag Right Side Out
Now comes the fun part! Turn the back right side out by turning the bag through the opening that you left at the bottom of the lining. Once the tote bag is turned right side out, you can use a point turner, or similar item, to gently poke the corners out.

10. Close the Opening in the Lining
Close the opening in the lining by folding the raw edges in. Sew a top stitch 1/8″ to 1/16″ from the edge of the top of the bag.


11. Finish the Quilted Tote Bag
Lastly, push the lining into the bag. Sew a top stitch around the entire top edge of the bag. This will help to keep the outer layer and lining layer flat. This will give the bag a nice finished look and also reinforce the handles.


Pin it for Later