How To Make Magnetic Fabric Color Card Swatches
Fabric color swatches are incredibly helpful when planning and designing a quilt. Most fabric companies have color cards, but they can be difficult to use when you are trying to create a color palette for quilting or other sewing projects. Cutting up the color cards into individual swatches solves that problem and I am here to show you how to make your own magnetic fabric color swatches!
This post may contain affiliate links, which means that I may earn a commission if you make a purchase using these links. As an Amazon Associate I earn from qualifying purchases.
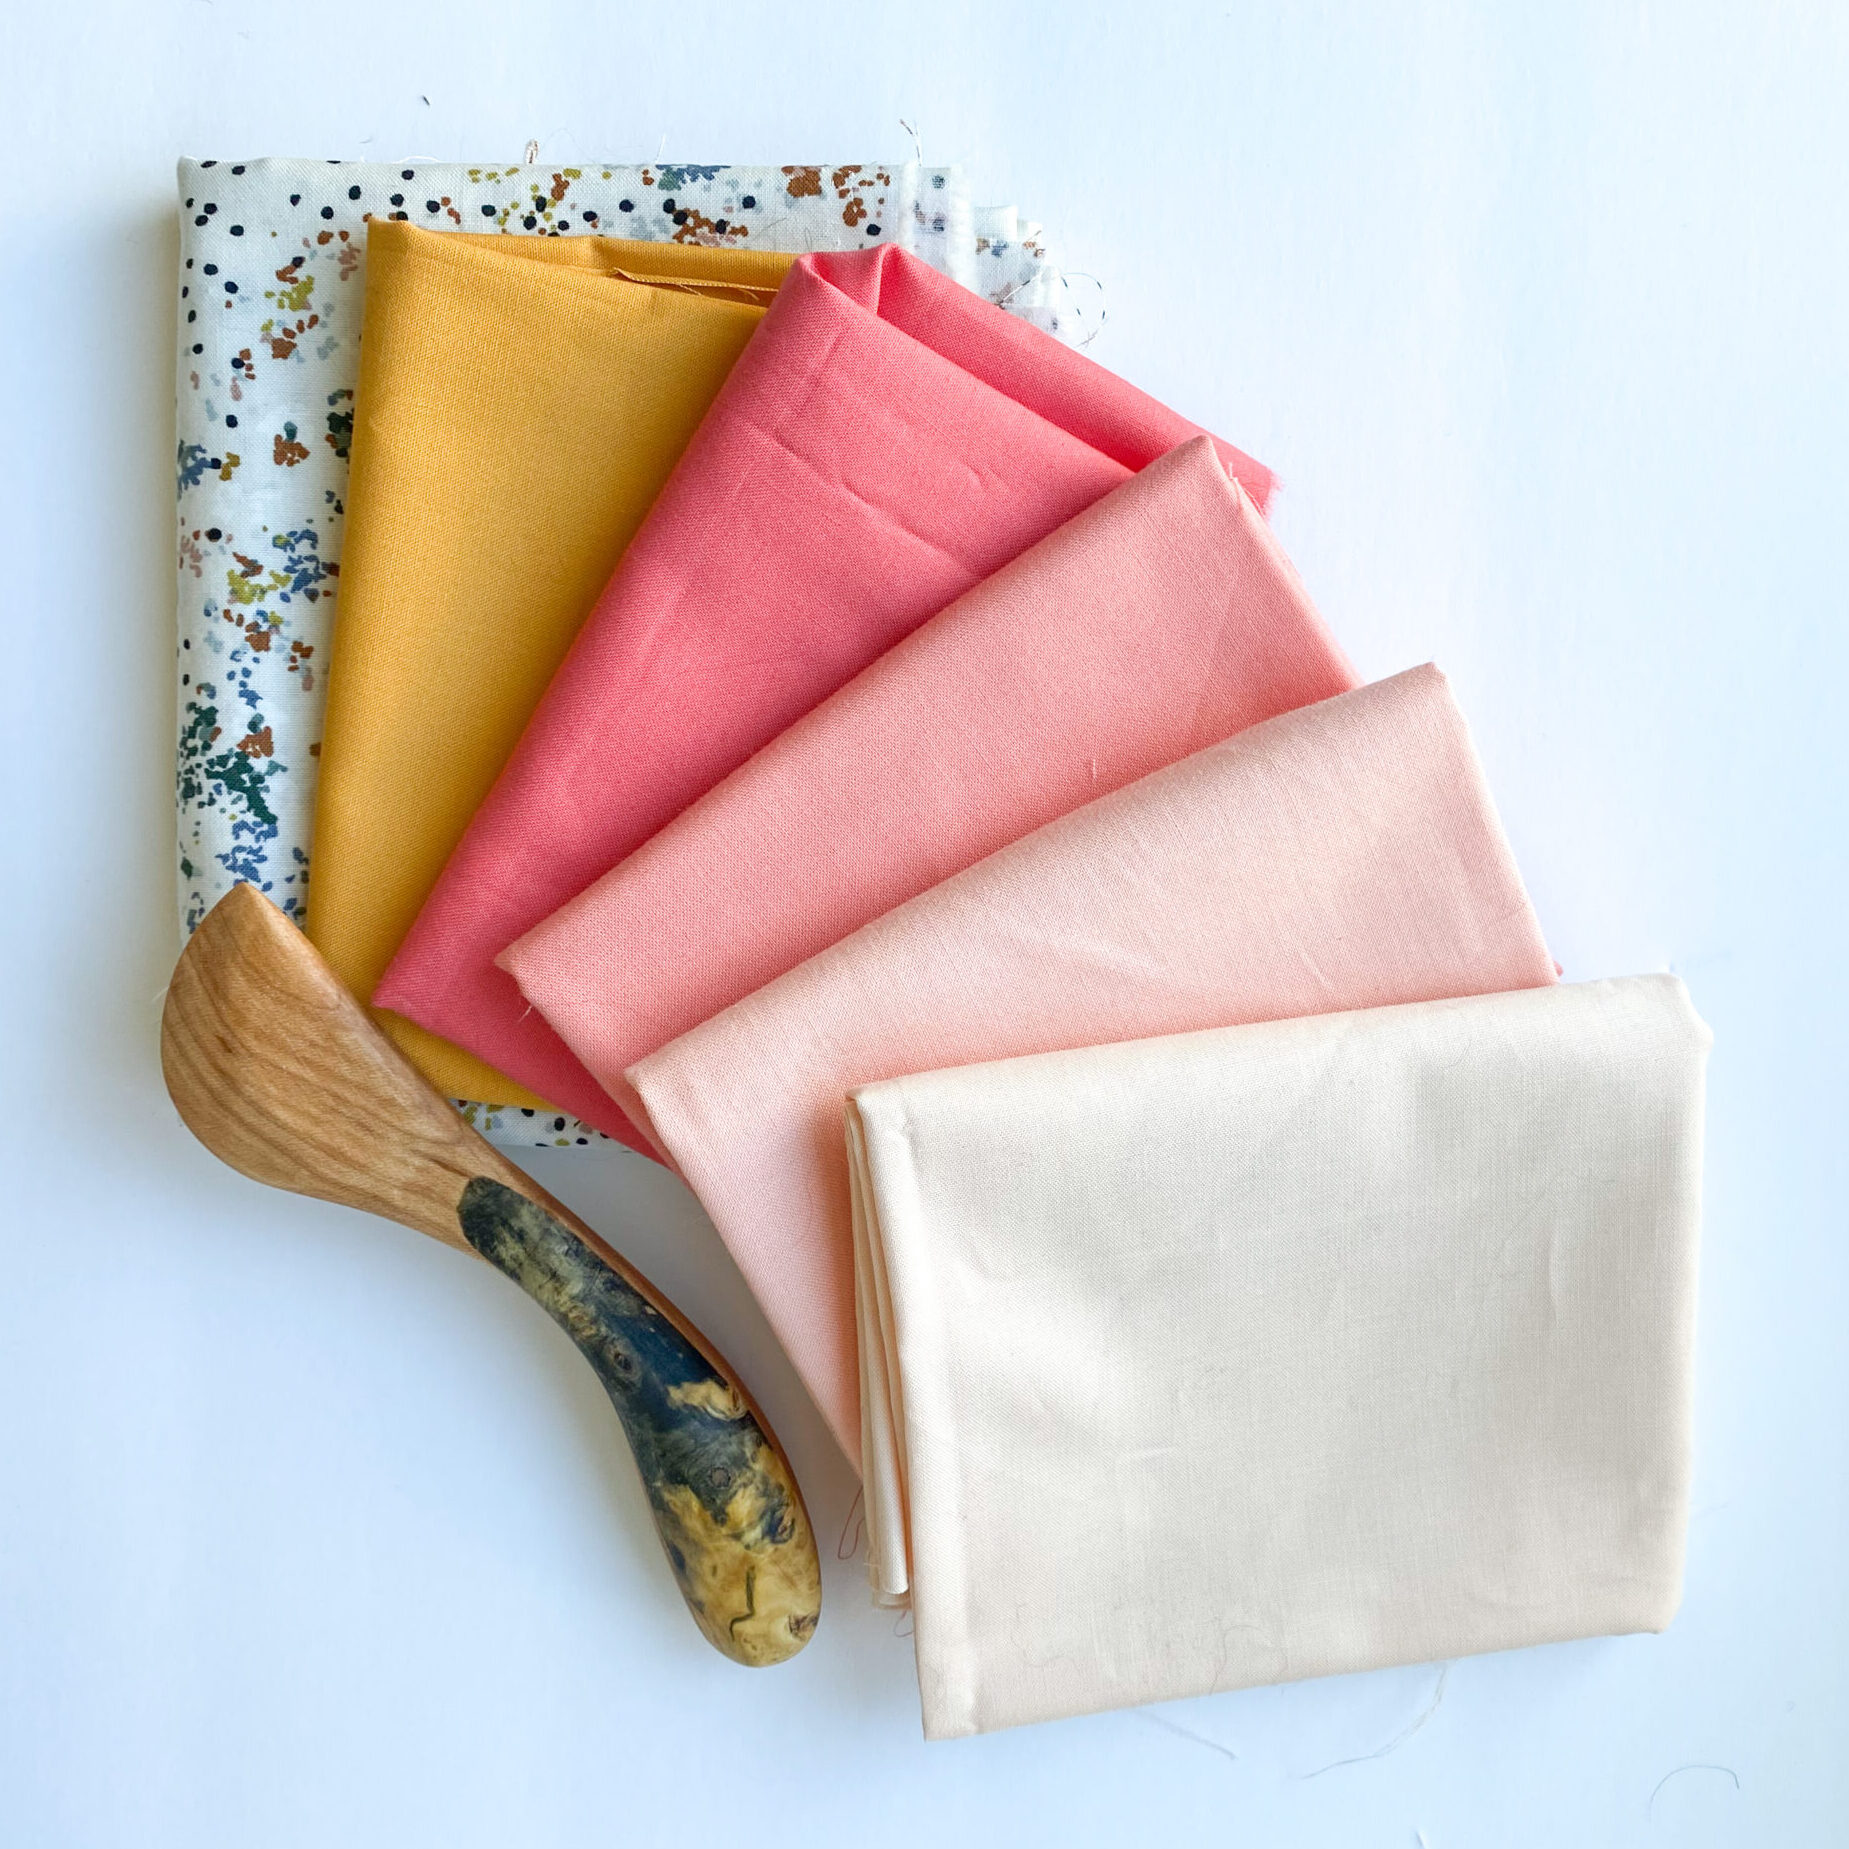
Two popular color cards include the Kona Cotton 365 collection and the Art Gallergy Fabrics Pure Solids. I will show you how to make fabric swatches using both color cards. Initially, I was so intimidated to cut up this perfectly good color cards, but I am so glad I did! Having individual swatches to mix and match makes planning a quilt so much easier!

How to Make Magnetic Fabric Swatches with the Art Gallery Fabrics Pure Solids Color Card


Supplies:
- Art Gallery Fabrics Pure Solids Color Card
- White Artboard or Card Stock
- Glue Stick
- Rotary Cutter
- Cutting Mat
- 12” Ruler (I have this one from Omnigrid that I constantly use)
- 25’ Roll of Magnetic Tape with Adhesive Backing
- Scissors
- Memo Board or other Magnetic Surface (Here’s the one I have!)
Step 1:
I would suggest taking a photo of each page of the color card. This will be useful to reference later if any of the fabric swatches and color names get mixed up. It’s also useful for organizing all of the swatches when you are finished.

Step 2:
Start by prepping the card stock that you will glue each fabric swatch to. I decided I wanted extra thick card stock to work with, so I glued 2 pieces of card stock together using a good old fashioned glue stick. Press the layers together with a heavy book and let dry.
Step 3:
While the card stock is drying, start separating the fabric swatches from the color card, working with one column at a time so as not to mix up fabrics and color names. The fabric is attached to the color card with a glue adhesive. Remove each fabric swatch by gently pulling the fabric away from the color card. Set the swatches to the side, taking care to keep them in order.


Step 4:
Once the fabric swatches are removed, you will be left with the column of color names. Cut the color names using a rotary cutter and 12” ruler. Use a rotary cutter with an old blade or a new rotary cutter designed for cutting paper and card stock. Do not use your fabric rotary blade. Cut each column of color names into 1” wide columns. Then divide each column by cutting each name down to a 0.5” section. You will end up with nine individual 1” x 0.5” rectangles.


Step 5:
Next, you need to prep the double layer card stock by cutting down into 1” x 1.5” sections. The card stock I used was 9” x 12” sheets, so I was able to cut it down into nine 1” rows and then eight 1.5” sections, creating 72 perfect rectangles without waste.


Step 6:
Next comes the fun part. Glue the fabric swatch onto the card stock rectangle using a glue stick. Take care to lay the fabric squarely and then press smooth to eliminate any bubbles or wrinkles. You will notice that each fabric swatch is folded and pressed. I used this fold to wrap the fabric over the top and glued it onto the back.


Step 7:
Now you will need to trim off the excess fabric, once again using your trusty ruler and rotary cutter.


Step 8:
After trimming and squaring up each swatch, use the same glue stick to attach the color name to the bottom of each swatch. Press firmly together and let dry.


Step 9:
The last step is to attach a magnet to the back of each swatch. I used a large roll of 0.5” magnetic tape, cut into approximately 0.75” sections. Use some all purpose utility scissors to cut the magnets. Remove the paper backing to reveal the adhesive and stick to the back of each swatch.


Voile! Attach your magnetic swatches to a memo board or other magnetic surface and enjoy.

How to Make Magnetic Fabric Swatches (Step-by-Step Video Tutorial)
How to Make Magnetic Fabric Swatches with the Kona Cotton 365 Color Card
Supplies:
- Kona Cotton 365 Color Card
- Rotary Cutter
- Cutting Mat
- 24” Ruler
- Small Square Ruler
- 25’ Roll of Magnetic Tape with Adhesive Backing
- Utility Scissors
- Memo Board or other Magnetic Surface (Here’s the one I have!)
Step 1:
BEFORE cutting anything… take a photo of the complete card. This will make it easier to put the the swatches back in order on your magnetic board when you are finished.
Step 2:
Start by cutting the the card into individual rows. I used a rotary cutter for paper. Do not use the rotary cutter you use for cutting fabric. I suggest using an old blade or purchase a separate rotary cutter designed for cutting paper and card stock. You can find the one I used here.


Step 3:
Next, using your rotary blade and a smaller ruler, cut the rows into individual color samples. This will take a little muscle and a couple passes with the rotary blade to get through both the fabric and the card stock. They will end up being a little less than 1” wide.


Step 4:
Lastly, attach the magnets. I used a 25’ roll of 1/2” wide magnetic tape with adhesive backing. Cut the tape into sections approximately 3/4” long using some good quality utility scissors. The magnetic tape is complete with adhesive backing, simply pull off the paper backing and stick each piece to the back of the color swatch. Repeat 364 more times.


Step 5:
Organize all of your swatches on to a magnetic memo board or other magnetic surface. I found this large double-sided, free-standing memo board from IKEA that I am absolutely loving. It has a magnetic surface on one side and a pinable felt surface on the other side. You can find it here.
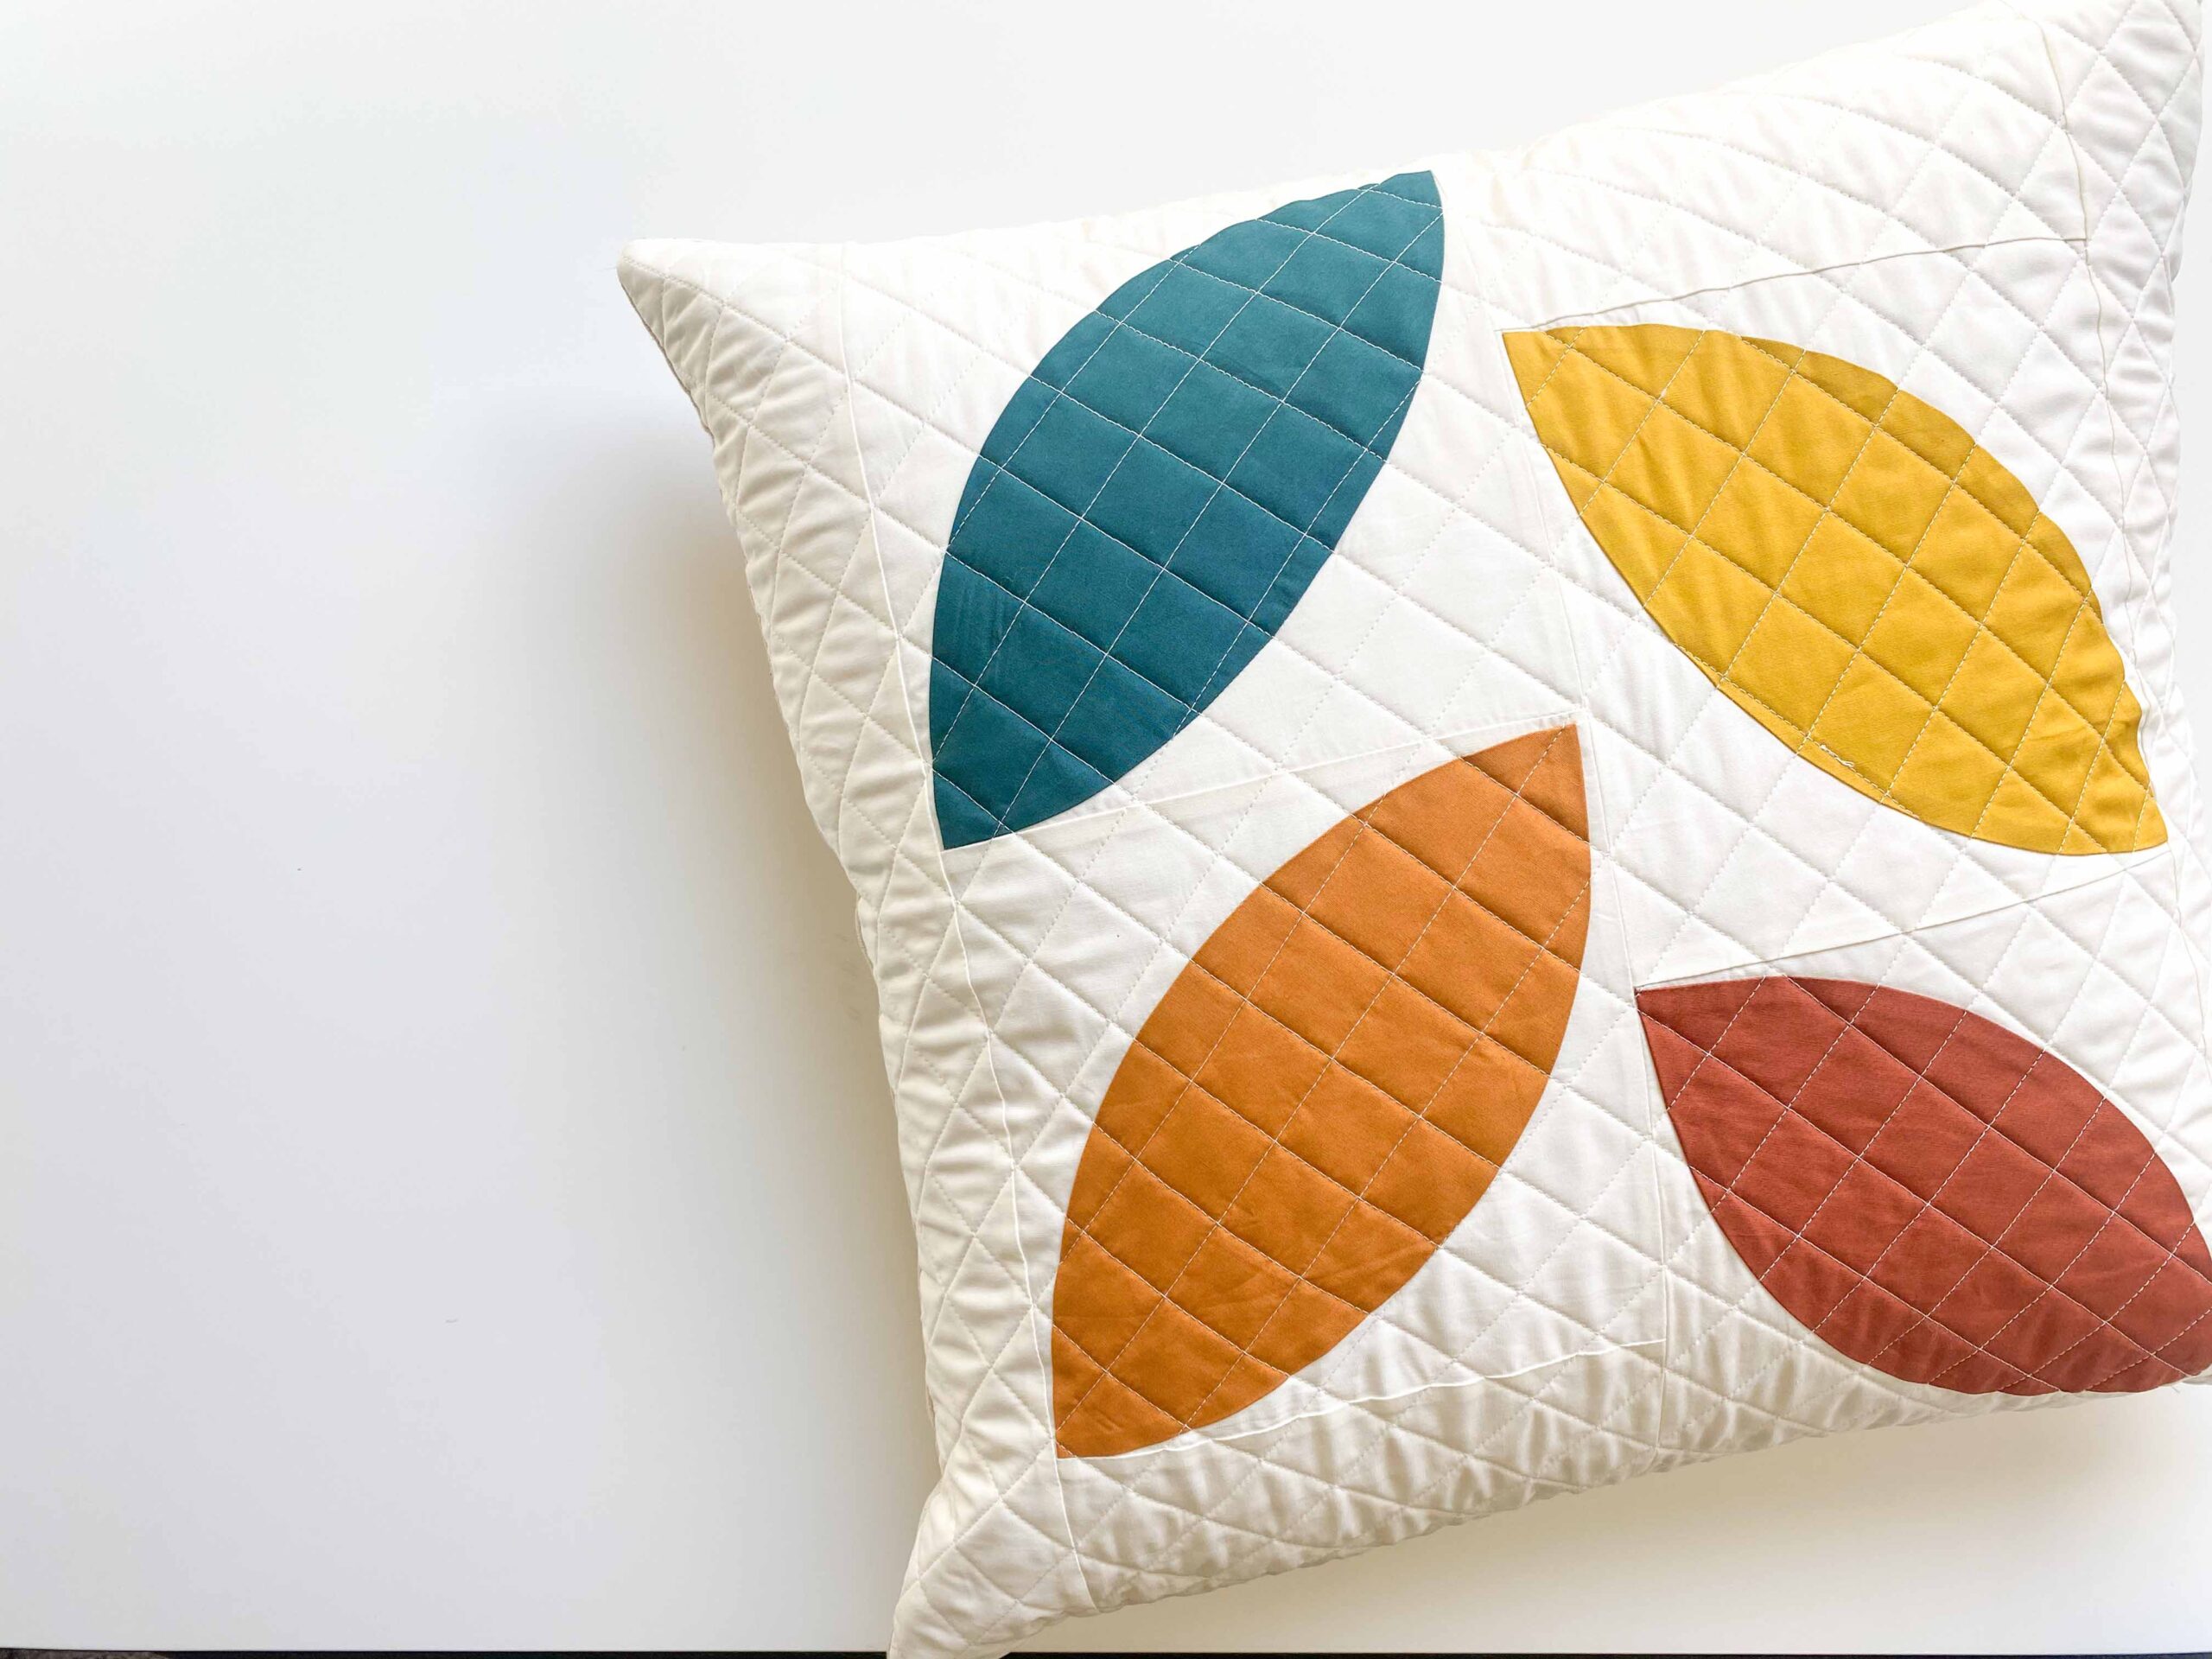
Voile! You are now ready to mix and match and play with ALL the colors. Swoon.

Pin it for later